Sunday, May 16, 2010

Observational Drawing

First and second graders are practicing observational drawing. We talked about how observation means to look at something closely, so observational drawing is to look at something closely and draw what you see. We also talked about how artists can get frustrated by trying to make their drawing look exactly like what they observing, but it is more important to try your best and include as many details as you can. Sometimes it looks more interesting as a drawing if it doesn't look exactly like real life. Lukas in 2nd grade said that it is more important that you put your artistic spirit into it. I like that.

So first graders looked at drawings of fish by Hokusai and Munari. We tried to guess which artist worked from observation and guessed that it was Hokusai because he included more details. Students then used sharpie to draw a fish from observation. We worked from rubber reproductions of fish that show tons of detail.
Next, they incorporated details from their imagination about where the fish would live. Most artists made under the sea scenes:

But some artists had other ideas:


See the final results on display next week on the second floor. Great work!

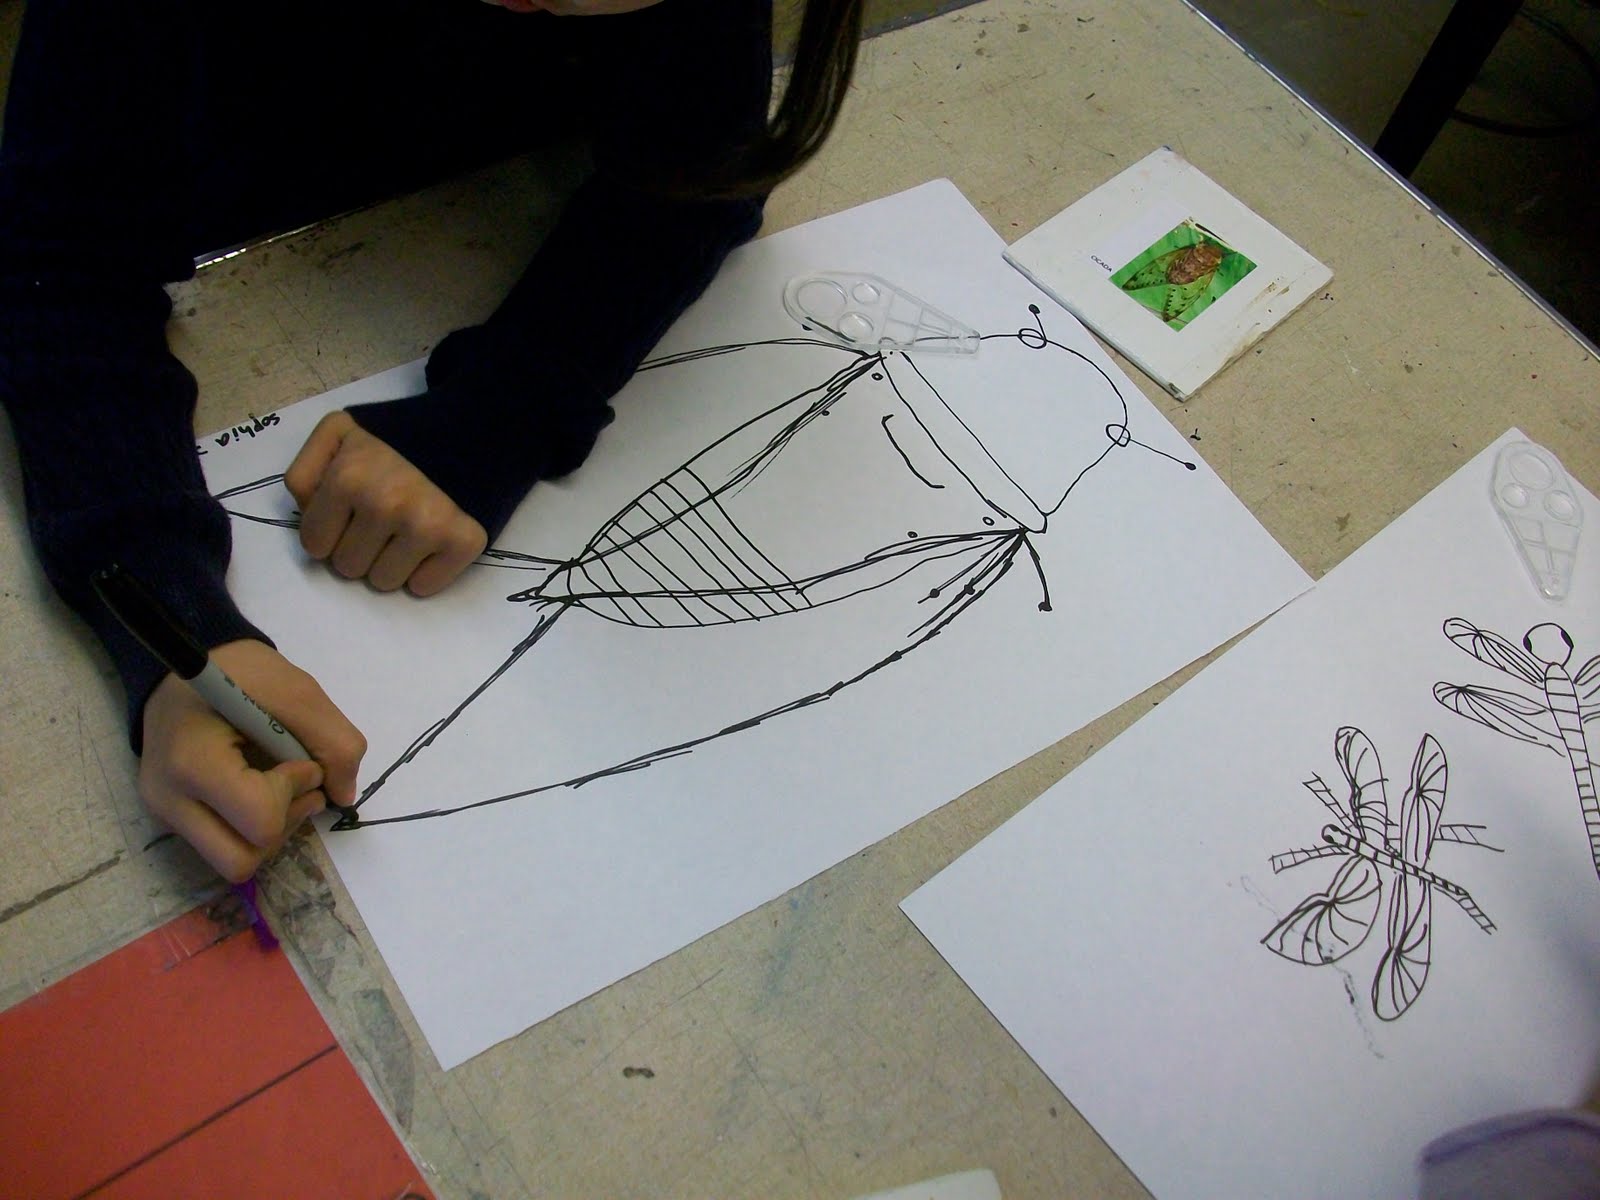
Second graders have begun practicing drawing bugs from observation of photos. We will be taking these skills to a whole new level to create drawings inspired by one of my favorite movies:


Get excited!

Here are some photos of second graders working on practice sketches:


Weaving


Fourth graders are almost done with weaving! Look for their pieces on display in the lobby in June. Here is an example of how one student turned her woven fabric into a fashion accessory!

Friday, May 14, 2010

Kid With A Camera!


Don't forget to participate in the annual Kid With a Camera exhibition! There is still time to submit photos, just remember that you must submit a printed photo, not just a jpeg. Click the poster to enlarge and see all the info.

Thursday, May 6, 2010

May Newsletter

I can't believe it is May! Here is what's happening:

Studio 220 Newsletter: May 2010

First Grade: First graders are continuing on their sculpture unit and have moved on to creating sculptures with found materials and assemblage. Students are looking at the work of Louise Nevelson. We are exploring how sculptures can have a limited amount of colors so the focus is on form. We are also figuring out how you can transform 3D sculpture into 2D. Check out the blog for our explorations.

Second Grade: Second graders are working on an observational and imaginative drawing unit. We are exploring the different ways that an artist can make drawings and trying to see what happens when they are combined. We will be looking at the work of a number of contemporary artists who focus on drawing and experiment with a number of media. Students will work with pencil, charcoal and ink.

Third Grade: Third graders are creating collages of landscapes and dreamscapes. We are looking at what makes a piece of art a landscape. We are looking at the work of artists including Esther Pearl Watson and David Hockney to see how artists draw inspiration from a place and also add elements of their imagination.

Fourth Grade: Fourth graders are finishing up their weaving unit. We have been considering how color choices are as important in weaving as they are in painting. Students are considering what colors contrast and what colors blend together. Next, we will be moving onto a clay unit.

Fifth Grade: Fifth graders are working on collograph self-portrait prints. We have been studying portraiture and students are experimenting with how collograph painting is different than drawing.

Don’t forget to visit the art blog: www.megankimball.blogspot.com for photos and up to the minute details of what we are working on!

As always, I am in need of baby wipes! Any donations are much appreciated!

Megan Kimball

Friday, April 30, 2010

From 3D to 2D

A few weeks ago when Anna, our student teacher from NYU, was teaching sculpture, a first grader said that you could make a 3D sculpture 2D again by taking a picture of it. Brilliant! We have been playing with this idea a lot in 1-211 and 1-215. Students took their relief sculptures and made 2D representations of them with observational drawing. They then took those drawings and transformed them into something from their imagination.


Yesterday, students used LEGOs to create a collaborative sculpture. We made sure to turn the base half way through so that all artists could work on each side. They then used the same technique as with their relief to create drawings of their work. We realized that even though four people were drawing the same sculpture, each drawing would be different because they are looking at a different side of the piece.


Great work!

Painted Paper Projects

Spring is the time for painted paper collage in Studio 220!

There are a few different projects happening, but here is a look at what Ms. Rippe's 2/3 class and third graders are working on!

Ms. Rippe's class has been thinking about texture and how you can create texture with color and shape on paper. They have been looking at the work of Brooklyn artist Kim Scafuro for inspiration and noticed that she uses painted paper to collage animals. Students created a ton of painted textures and colors and then used them to begin to make an animal. In the next few weeks, we will be creating a background for our creatures.
work by Kim Scafuro


collage beginnings!
I will post the final projects when they are finished.

Third graders are also working on painted paper collage. We are learned about color families and used brushes to create pieces of paper with various textures with colors from our chosen color family. The following week, we had some fun using bubbles to paint on paper. Next, we will take the paper we have created and create imaginary landscape collages!
bubble painting result and process

We got a ton of interesting textures to use in our collages. Check back for the results!

Monday, April 26, 2010

First Grade Sculpture

First graders began a paper sculpture unit by using strips of paper to create 3D pieces of art. We explored how 2D and 3D art pieces are alike and different. Students were challenged to create a sculpture using a material we usually use for 2D art. Each student was given a number of paper strips and a base. They then used a glue stick and simple techniques like bending, folding and twisting to create their sculpture. While they worked, students were instructed to turn their base so that they would always be looking at their sculpture from all sides. Check out what they came up with:


First graders are now working with cardboard and recycled materials to create sculptures inspired by Lee Bontecou and Louise Nevelson. Here is a sneak peak:

Let's Play Catch-Up!

I cannot believe it has been so long since I put work on the blog! The kids have been so busy working and I have been taking tons of photos, but there is never enough time! Today I am going to get it together and put up a few posts. Get ready!!!

First, here are the finished animal heads. I wrote about the process here and here, so this is what the kids came up with:


They all came out amazing. Great work 4th graders!

Thursday, April 15, 2010

A Trip to the Textile Arts Center


Last week, fourth graders took a trip to the Textile Arts Center to weave on floor looms. It was AWESOME! The studio was great and Visjna, co-owner and teacher, taught us some amazing things. Here is a post that 4Five artist Ray wrote about the trip. Enjoy!

The 4Fives at the Textile Art Center!!!!!! :)

April 13, 2010 by the4fives

Hey everyone guess what we did last week?

We went with Bee and Ms. Kimball to her friend Visjna’s art studio, the Textile Arts Center. When we got there, Ms. Kimball kept knocking on the door but her friend didn’t answer because her back was turned to us. Finally, Visjna opened the door then we entered and sat on the floor and she started started to talk to us about weaving. Then she said “have you kids been doing weaving at your school?”, and we said “yes.” Then she said “ok this will be easy for you guys and girls”.

Visjna teaches us how to weave.

Then she said “we will be doing weaving today”, then we said “cool!”

A loom at Visjna's studio.

Then she said “look at the yarn and choose which one you want to use.” We started looking at the yarn then she said to pick one then everybody picked one. I picked one and it was red.

Adrian and I choose our yarn.

Ms.Kimball started calling us for groups and I was in group 5 and I went to my loom.

My group at our loom.

Then all we had to do was put the string on the loom, put our feet on the pedals, put our yarn through the other strings and pull back the beater to push our yarn together. Then you keep repeating it.

Another group on a loom.

I finished and then all we had time for was to make one more. Then Ms. Kimball said “you guys know you can make one for me.”

Ms. Kimball helps Deven with weaving.

Then I thought about making one for Bee then I started weaving one for her. Then the class finished. Then I finished making my weaving project for Bee.

My present for Bee.

Now I am going to tell you the steps of weaving on a weaving machine:
Step 1- First you pick a yarn.
Step 2- Then you wait for your group be called.
Step 3- Then you go to your machine.
Step 4- Then you tie your yarn to the warp.
Step 5- Then you step on the pedals.
Step 6- Then you pass the yarn through the warp threads.
Step 7- Then you let go of the pedals.
Step 8- Then you push the beater down.
Step 9- Then you push down the other pedals that you didn’t push in Step 5.
Step 10- Then you keep repeating steps 5-9 and finish the rest of your weaving.
Step 11- Then you are all done.

I hope that you liked my blog post.
Love,
Ray


Next, we are creating our own looms in class and working on small compositions.

I will be posting more soon. WE HAVE BEEN SO BUSY!